Free Database Hosting
You can use your ASPHost.net account with MS SQL database files.
Log into your ASPHost.net account
Enter the Username and Password: Username: <username> Password: <password>
If you don't have an account you can create an account for free.
To add your MS SQL database please perform the following steps:
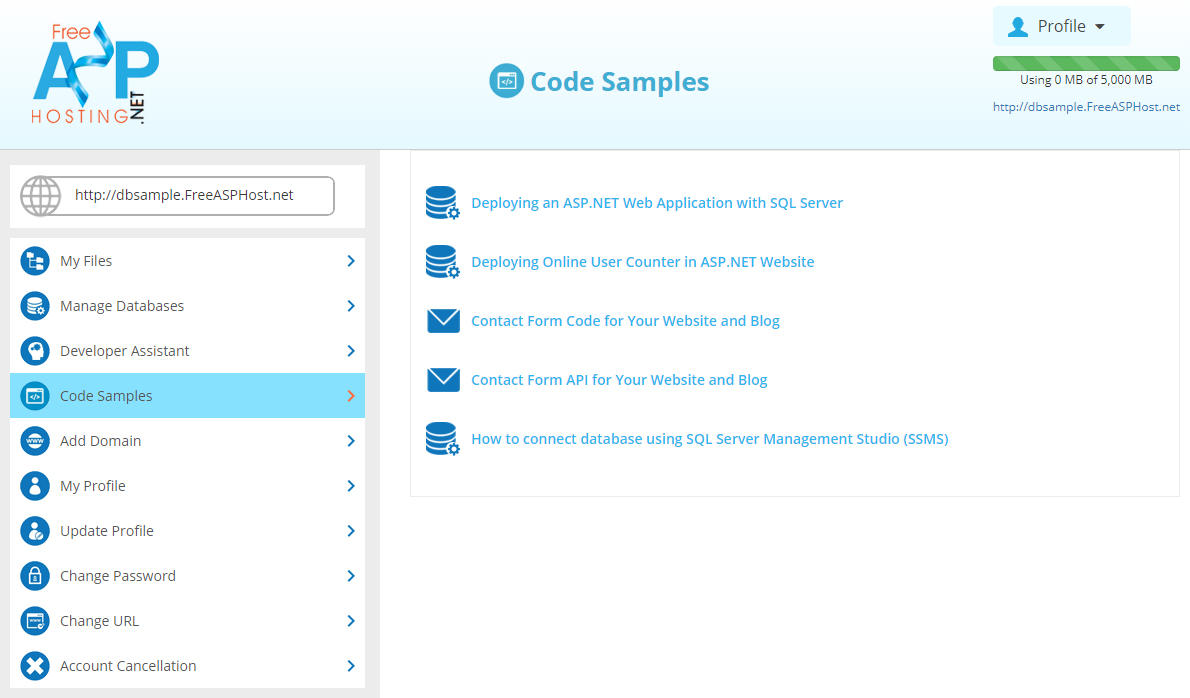
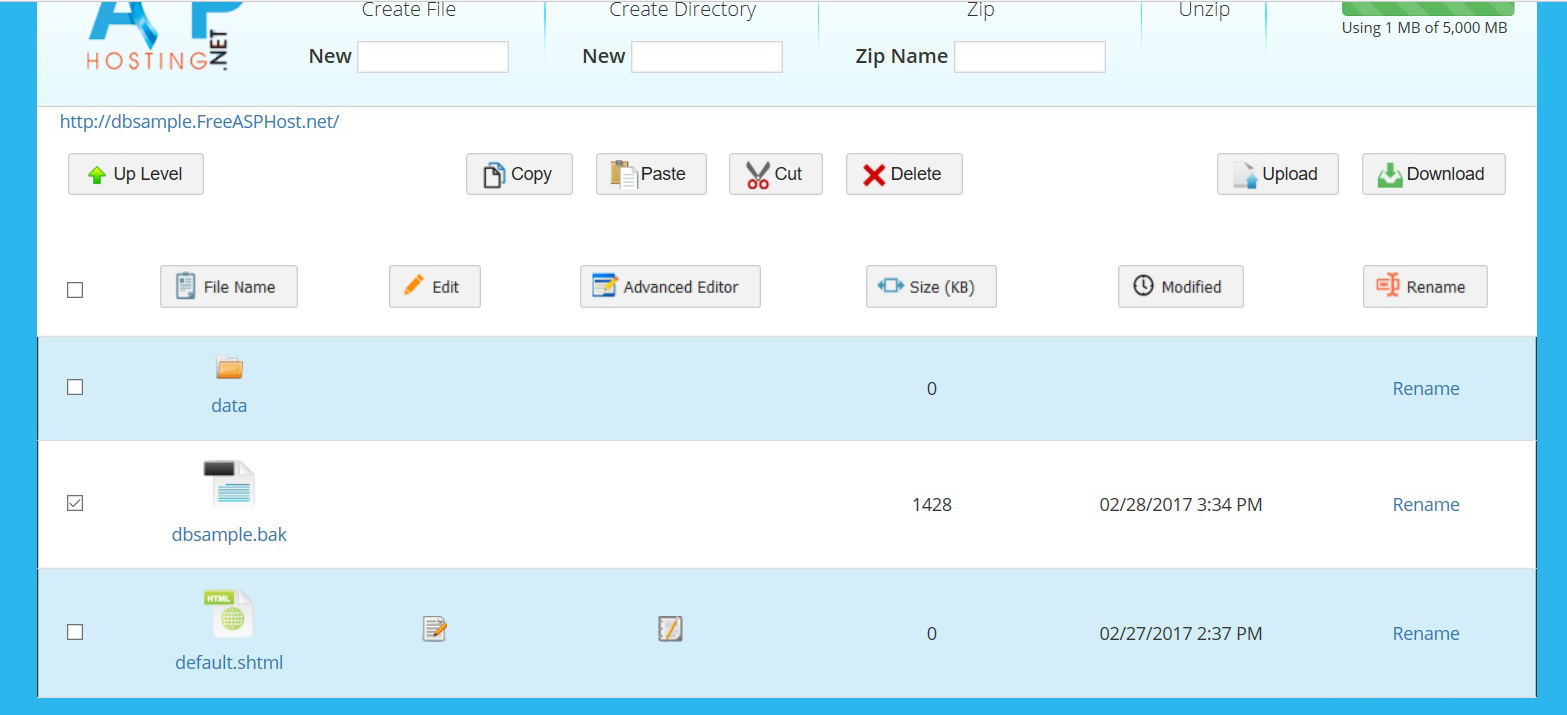
a. You can import your SQL Database from backup file. To do this please click on "My Files" to access your File Manager.
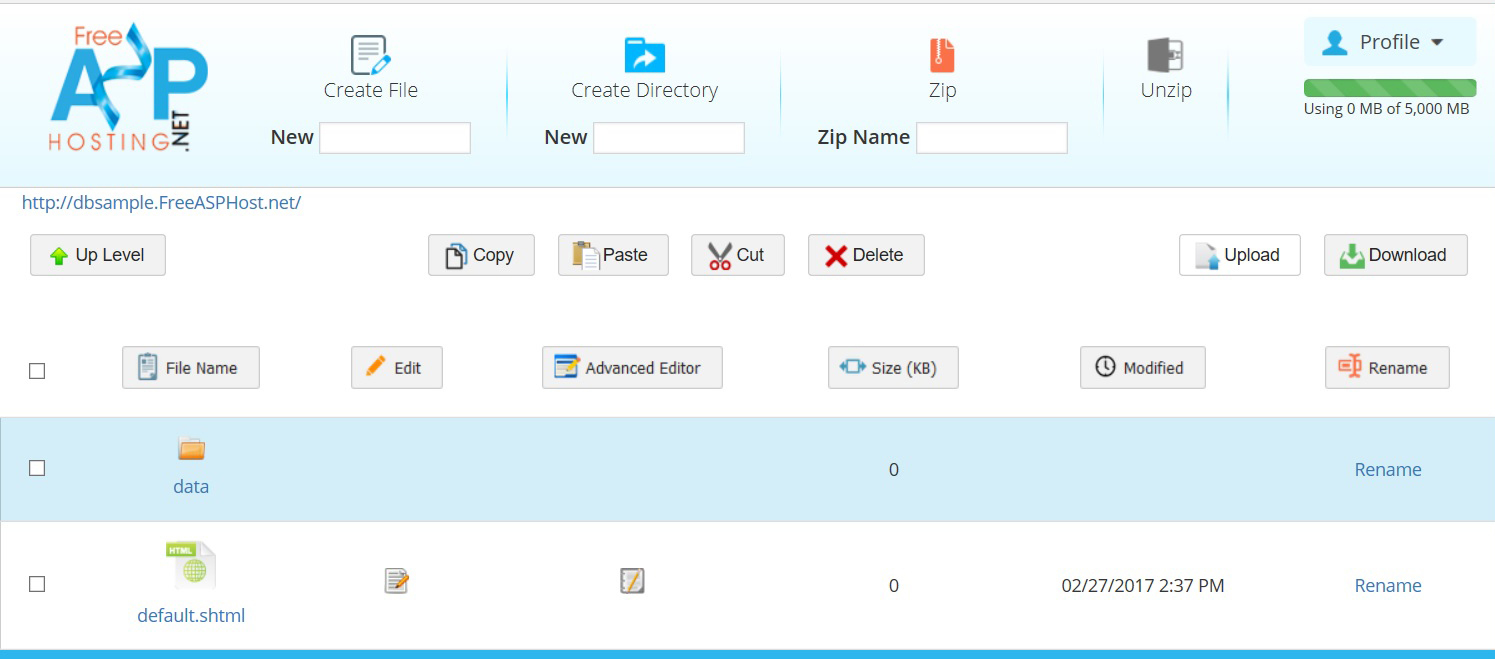
Using your File Manager upload your backup database.
Click “Upload” button
Click Browse File and choose the path to the backup file
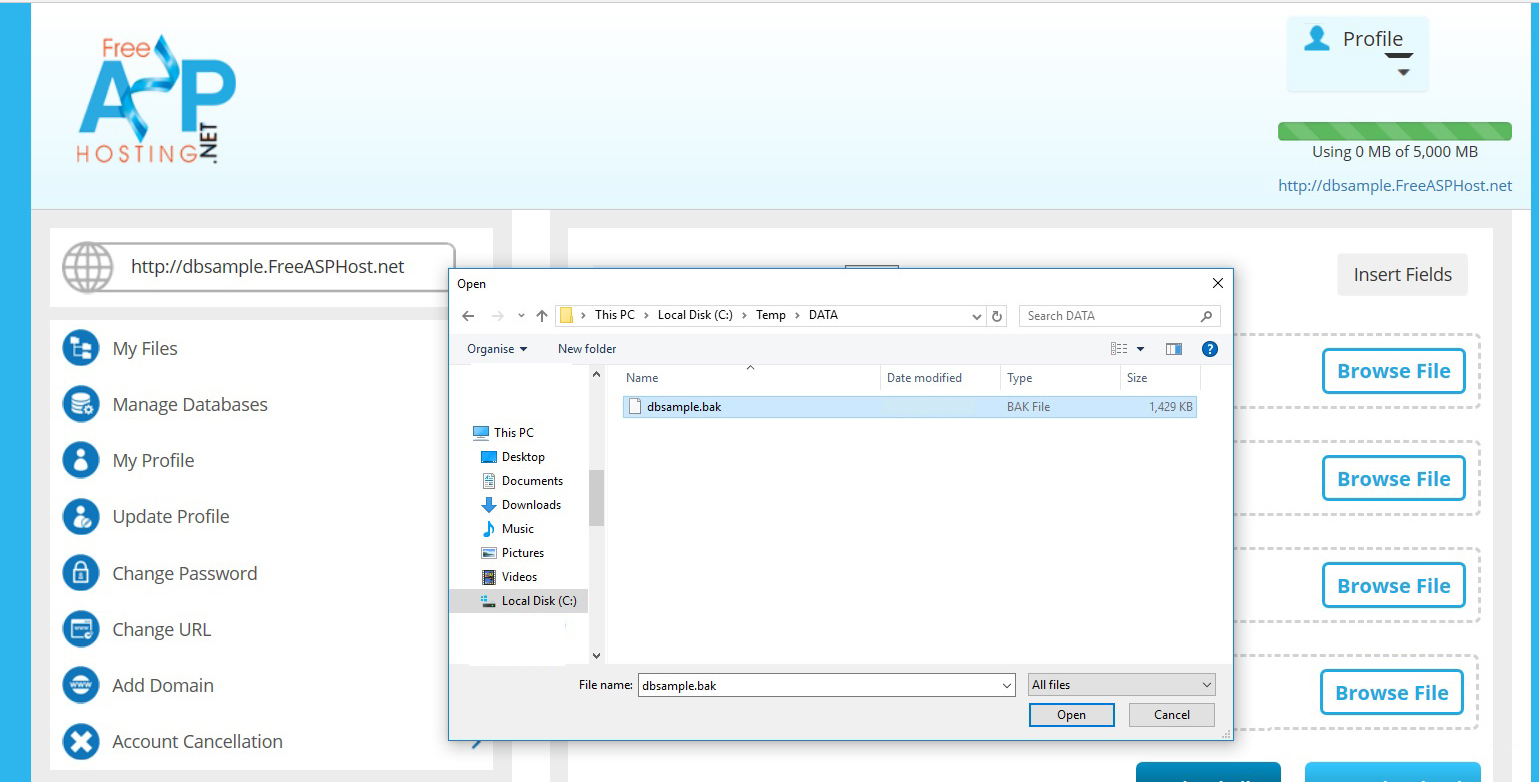
Press “Upload File” button

The file will be appear in files list
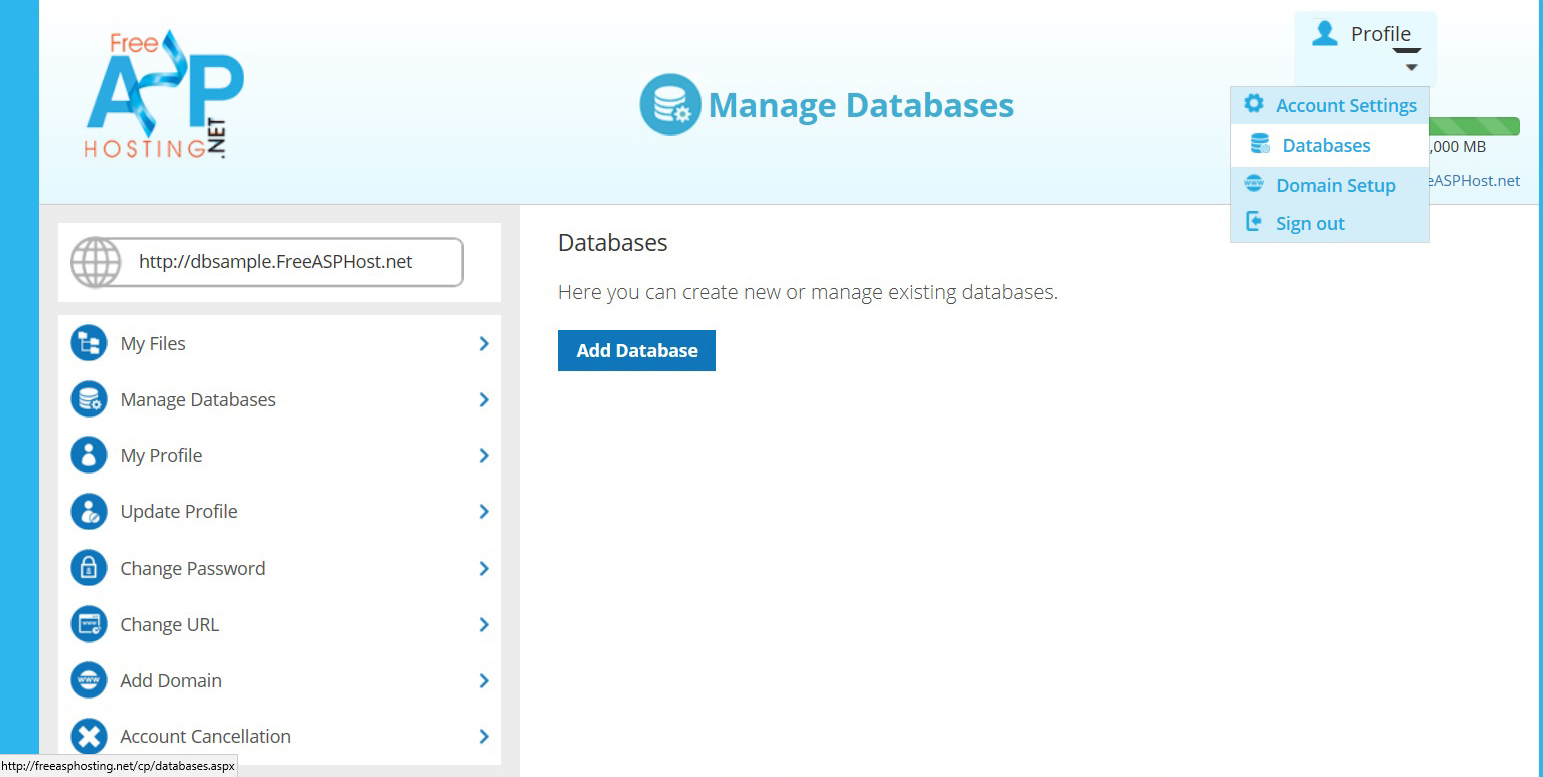
b. In your File Manager click on the drop menu Profile and then click on "Databases" and then click on "Add Database"
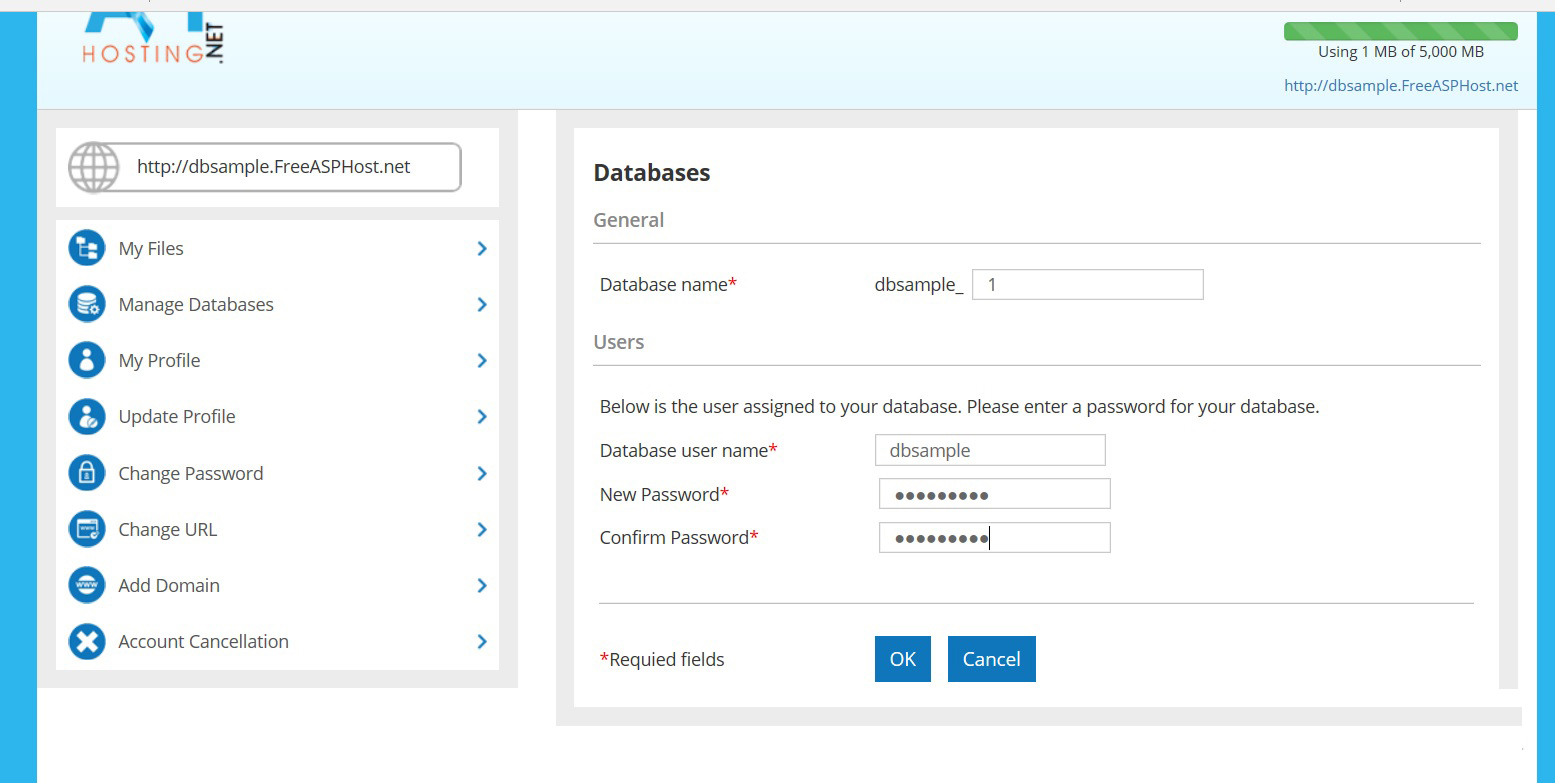
c. Enter your database name and enter a password for your database. Then press OK.
d. Then click on Import Dump.
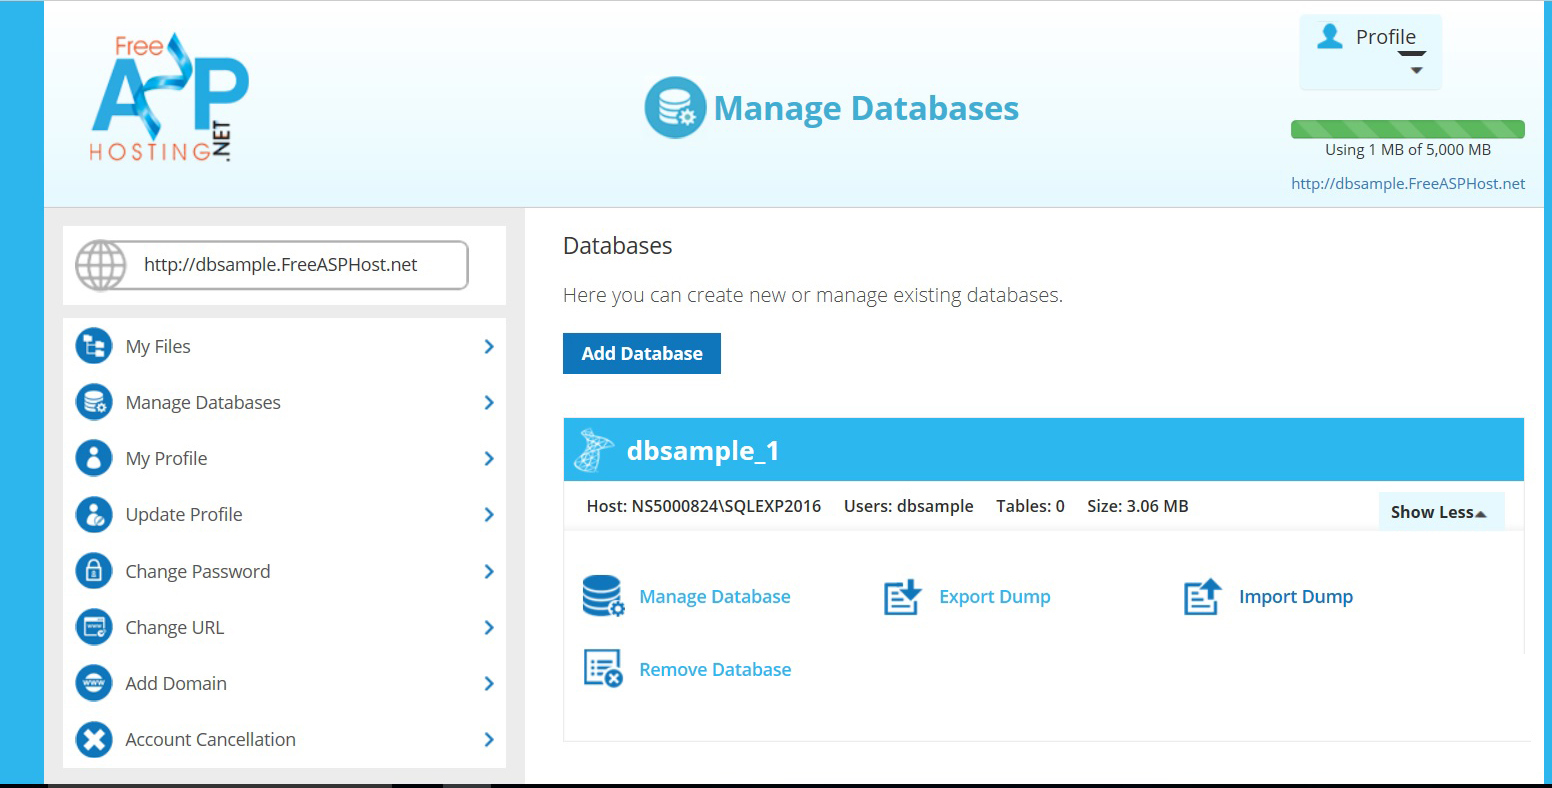
The import functionality is used to create your database from a database backup (*bak).
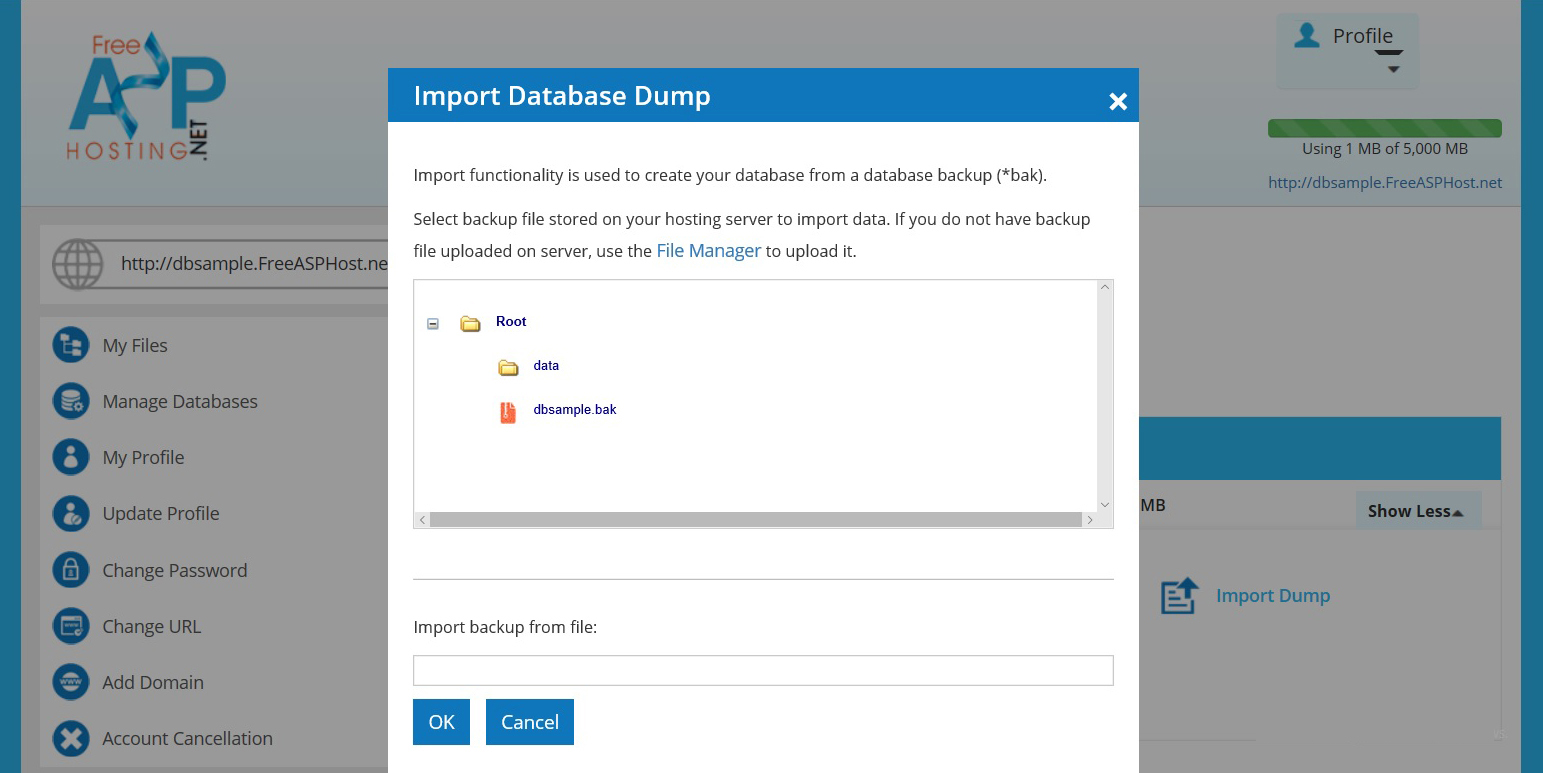
Select backup file stored on your hosting server to import data.
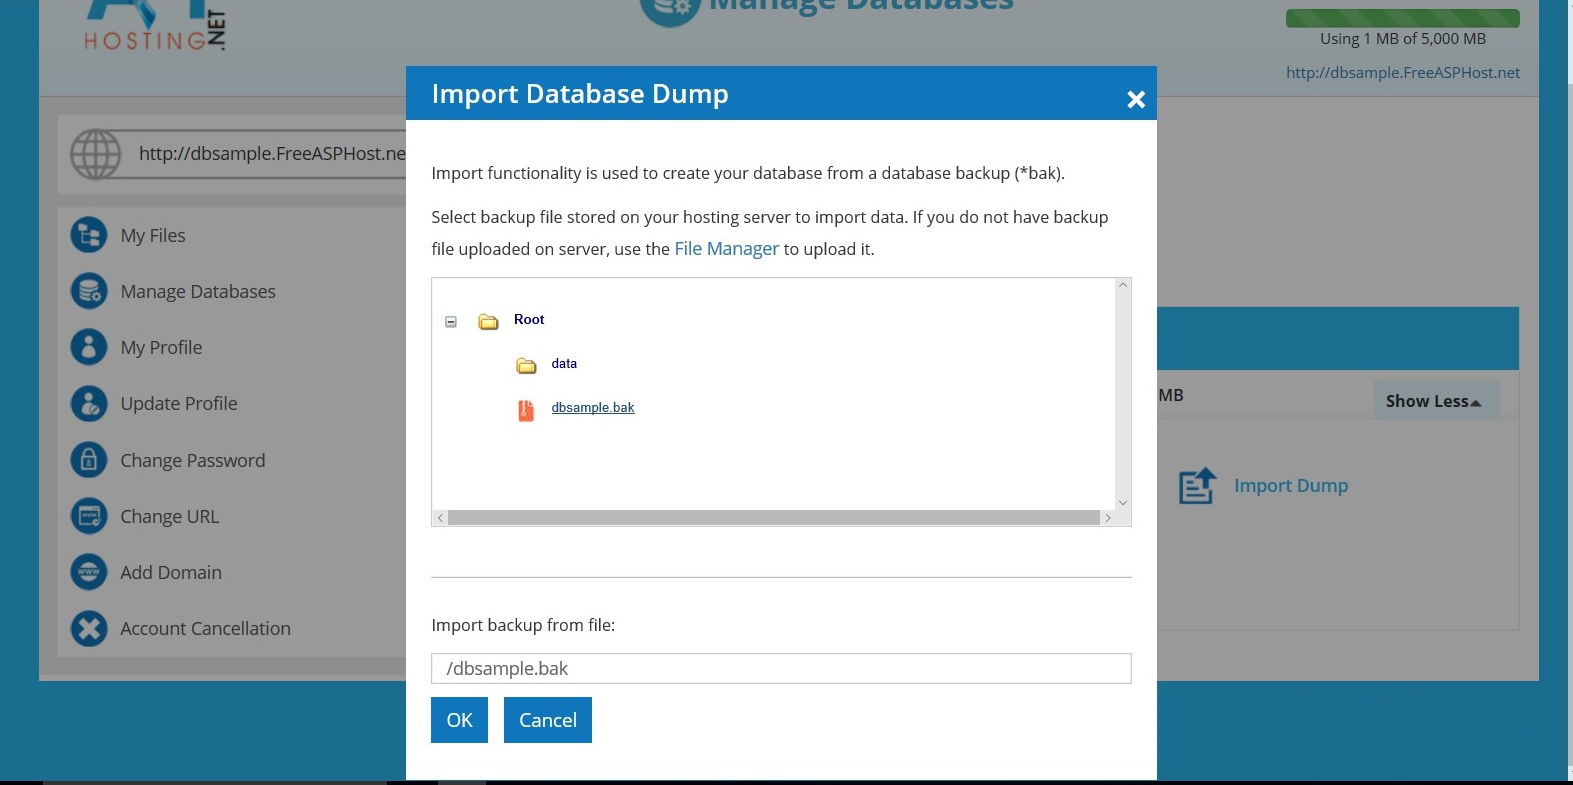
If you do not have backup file uploaded on the server, use the File Manager to upload it.
The database will be imported from backup.
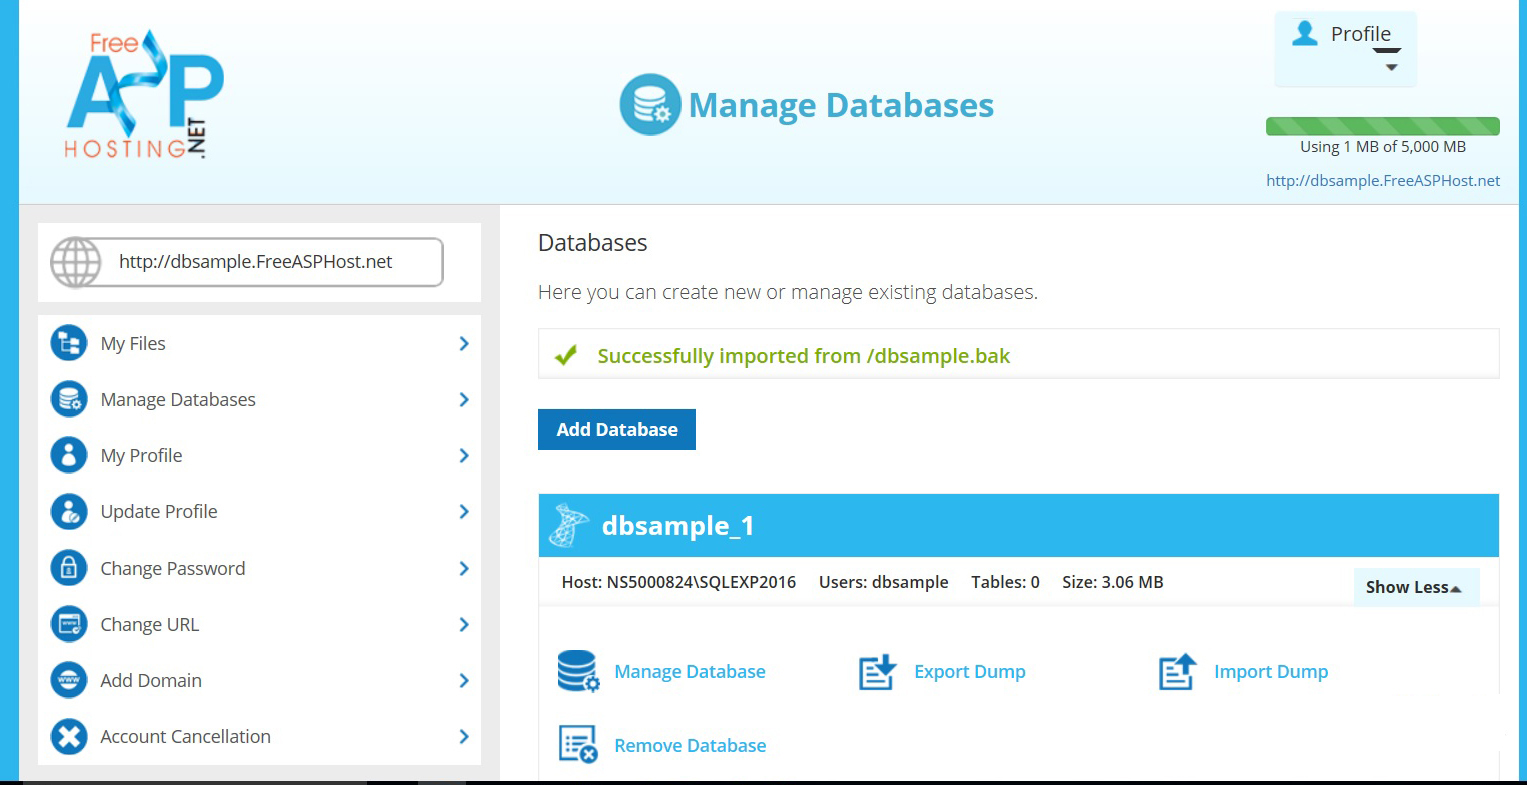
Now you can make a connection to the database in ASP.NET.
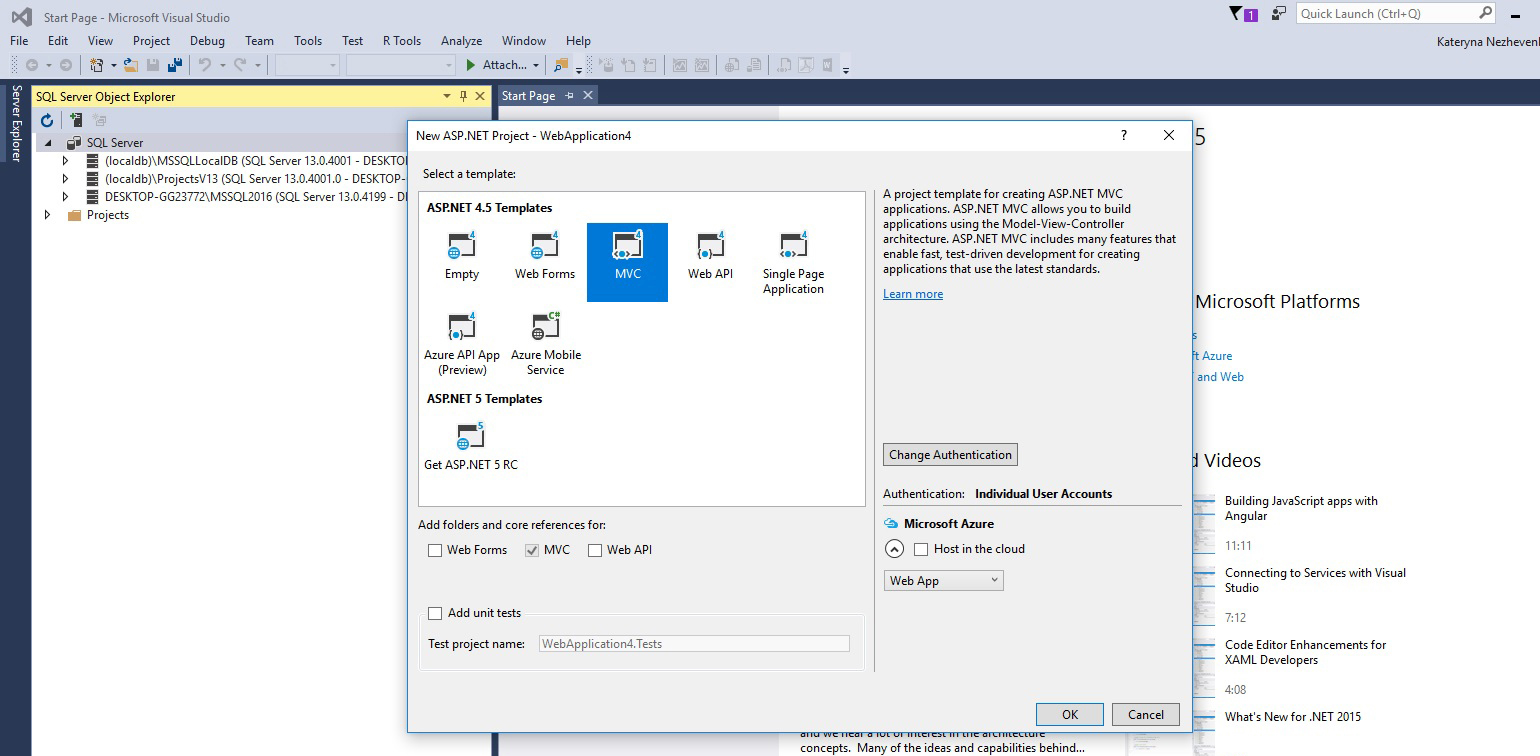
Run the Visual Studio, select File->New->Project…->Web->ASP.NET Web Application, and set the name and the path:
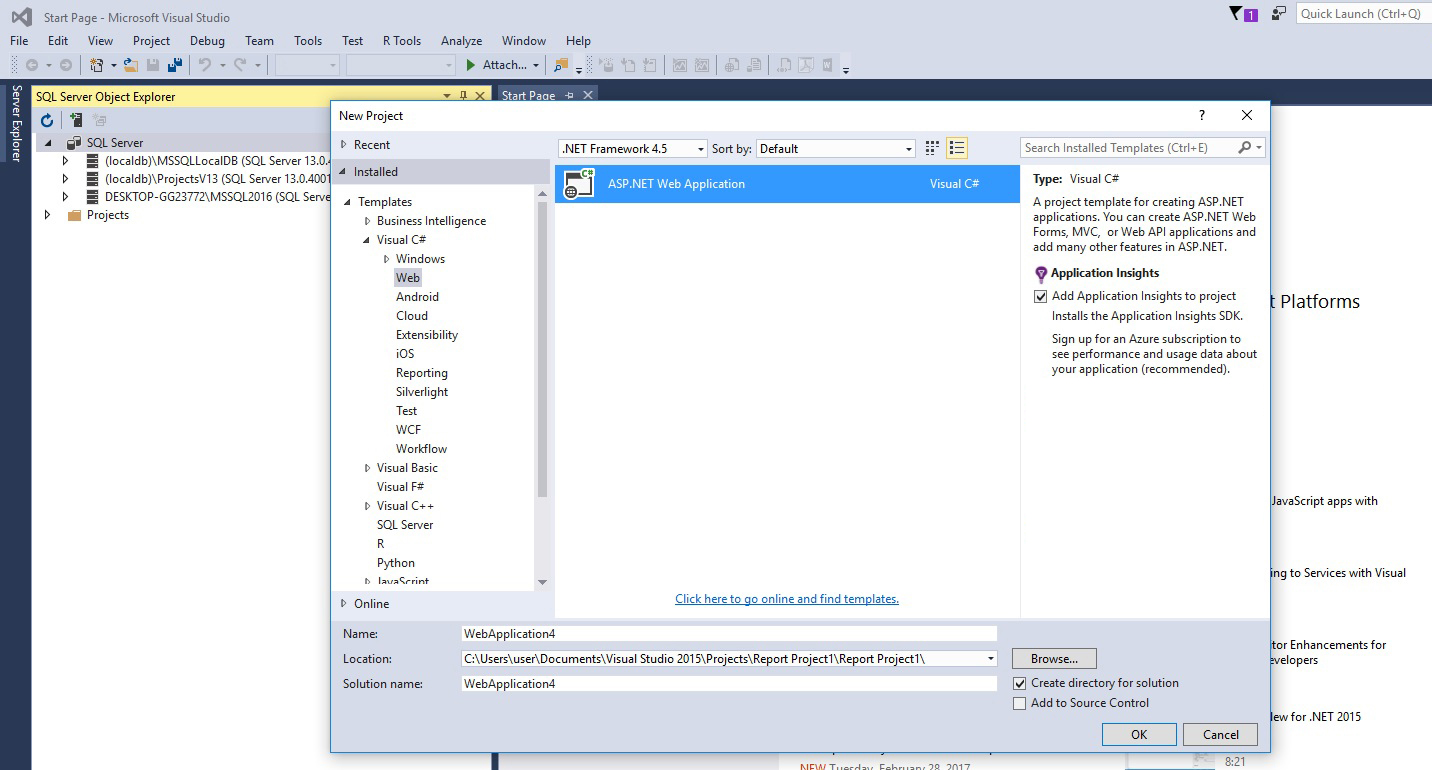
Select the MVC template
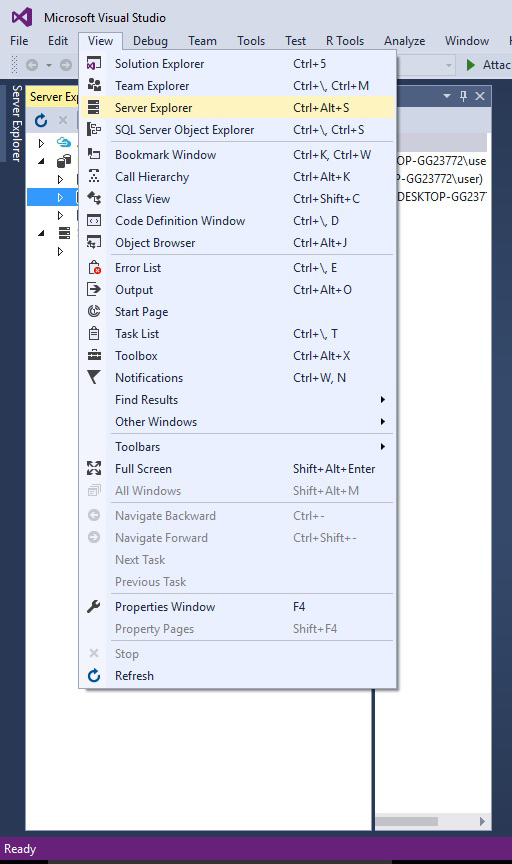
Now select View ->Server Explorer.
Right click on Data Connections and click Add Connection... and complete the form
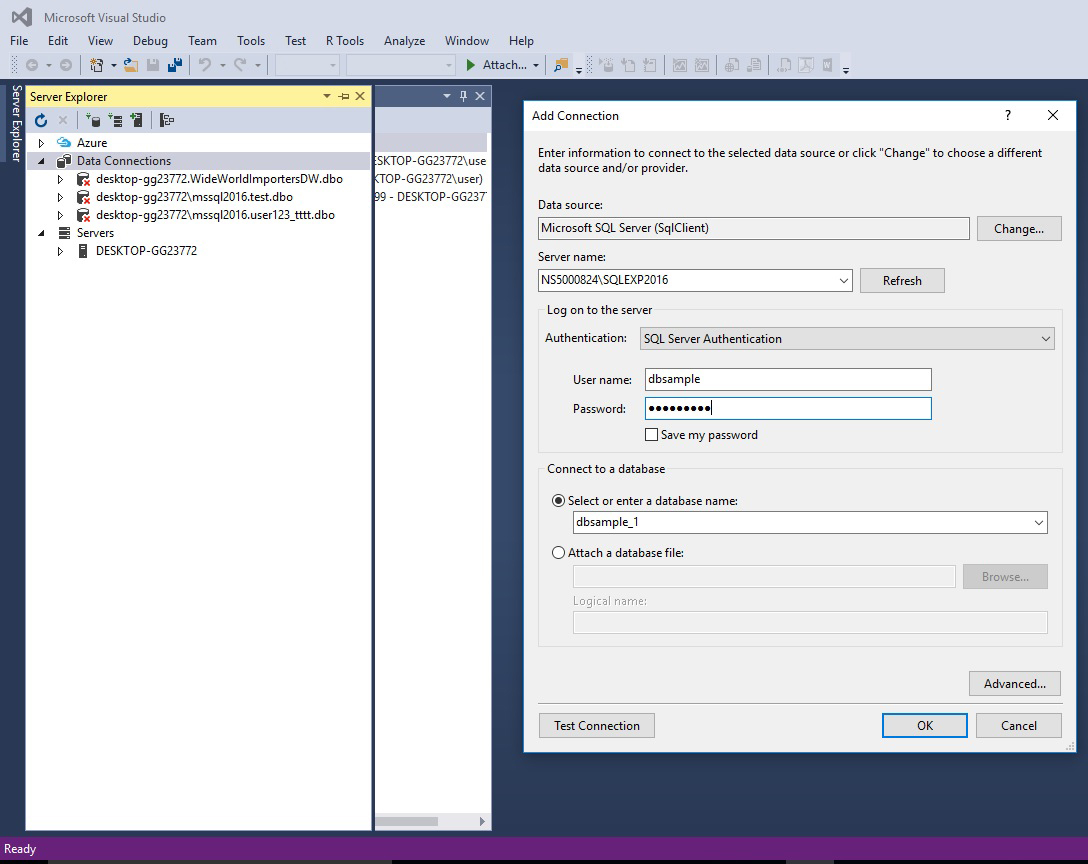
Now you can switch back to the Solution Explorer and working with the application.